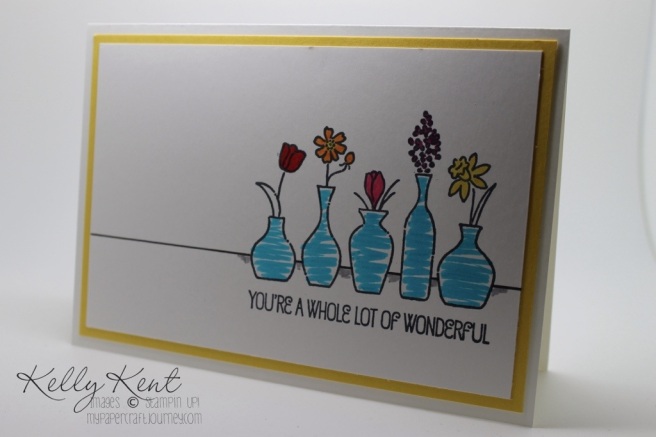
I have noticed a trend in my Stampin’ Up! purchases. The ones I ponder over the most – add to an order, remove from an order, add again and finally purchase … are the ones I end up falling the most in love with. It happened with the Hardwood Background Stamp [can you believe I almost didn’t buy it!!!] and now it’s happened with the Vivid Vases single stamp from the Occasions catalogue. I made a few of this particular very simple, but very stunning card to give to people who I wanted to thank. One got sent Grandma’s way to say thank you for making my girls some great winter tracksuits, one got sent to Stampin’ Up! Demonstrator Support to say thanks for all the hard work they do and I’ve kept some for a rainy day. It’s always lovely to get a ‘just because’ type card in the mail and I think the phrase on Vivid Vases could apply to a range of situations and recipients. The quality of the Stampin’ Write Markers makes colouring a breeze, though I have seen some great cards on Pinterest that have DSP vases.
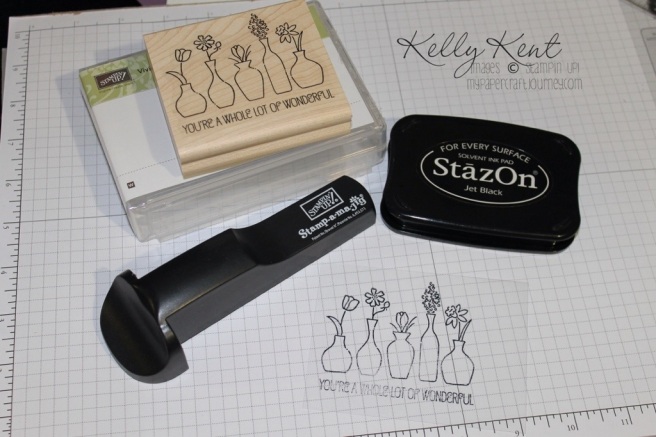
To line the stamp set up evenly I used a few of my “tricks”. Do you own a Stamp-a-ma-jig (SAMJ)? These are one of the greatest products in the SU! range. It allows you to position your stamp exactly where you want it every time. Now, for a stamp set like Vivid Vases, that only comes in wood, the positioning is going to be the same on the SAMJ sheet every time. So my first trick is to create a permanent SAMJ sheet that you can keep with the stamp set. Cut a piece of Window Sheet to the same size as the wood block of the Vivid Vases stamp. Put aside the sheet that comes with the SAMJ and line your newly cut window sheet piece with the SAMJ handle. Stamp the Vivid Vase image onto the window sheet using Jet Black Staz On Ink. Now, when you want to use the stamp with your SAMJ, you don’t have to stamp it first, you can just line up your window sheet & handle, remove the sheet and stamp perfectly.
My next tip is how to get the sentiment parallel to the bottom of your card. I use this trick all the time to line up my stamping when the edge isn’t close to my stamp. Cut a piece of scrap cardstock that is the same width as the gap you want between the bottom of your card and the stamped image. For example, if you’d like it 1″ from the bottom, then cut a piece of cardstock that is 1″ wide. Place a small amount of 2-way glue onto the back of this piece and allow to dry until it is tacky. Place this cardstock guide strip along the bottom of the card. Using the SAMJ, line up the bottom of the stamp with the top of the guide. This will make it straight and perfect every time, without having to judge by eyesight alone. Once you’ve stamped your Vivid Vases image, remove the cardstock strip. It should gently ease away from the card base, as the 2-way glue become repositionable when allowed to dry before adhering.
Hope you’ve enjoyed my two tips for getting it straight. Try them yourself and let me know how it goes! I love hearing from you. Kelly x


